Creating a custom module for Odoo 17 involves several steps. Odoo is an open-source ERP (Enterprise Resource Planning) platform, and creating custom modules allows you to extend its functionality. Here’s a basic guide to creating a custom module:
Step 1: Set Up Your Development Environment
Before you start creating a custom module, make sure you have Odoo installed and set up on your system. You can refer to the official Odoo documentation for installation instructions.
Step 2: Create a New Module Directory
Navigate to the Odoo addons directory and create a new directory for your module. For example:
cd /path/to/odoo/addons
mkdir custom_module
cd custom_module
Step 3: Create Module Manifest File
Inside your custom module directory, create a manifest file (__manifest__.py). This file contains metadata about your module. Here’s a minimal example:
# __manifest__.py

{
    'name': 'Custom Module',
    'version': '1.0',
    'author': 'Your Name',
    'depends': ['base'],
    'data': [
        # Add your XML or CSV files here
    ],
    'installable': True,
    'application': True,
    'auto_install': False,
}
Step 4: Define Model(s)
Create a Python file in your module directory to define your custom models. For example, create models.py:
# models.py
from odoo import models, fields

class CustomModel(models.Model):
    _name = 'custom.module.model'
    _description = 'Description for your custom model'

    name = fields.Char(string='Name', required=True)
    # Add more fields as needed
Step 5: Create Views
Create XML or CSV files in your module directory to define views for your custom model. For example, create views/custom_model_views.xml:
<!-- custom_model_views.xml -->
<odoo>
    <record id="view_custom_model_form" model="ir.ui.view">
        <field name="name">custom.module.model.form</field>
        <field name="model">custom.module.model</field>
        <field name="arch" type="xml">
            <!-- Define your view here -->
        </field>
    </record>
</odoo>
Step 6: Update Manifest File
In the __manifest__.py file, update the ‘data’ section to include your view files:
# __manifest__.py

{
    'name': 'Custom Module',
    'version': '1.0',
    'author': 'Your Name',
    'depends': ['base'],
    'data': [
        'views/custom_model_views.xml',
    ],
    'installable': True,
    'application': True,
    'auto_install': False,
}
Step 7: Update Security (Optional)
If your module requires access rights, you may need to create an XML file in the security directory of your module.
Step 8: Restart Odoo Server
Restart your Odoo server to apply the changes.
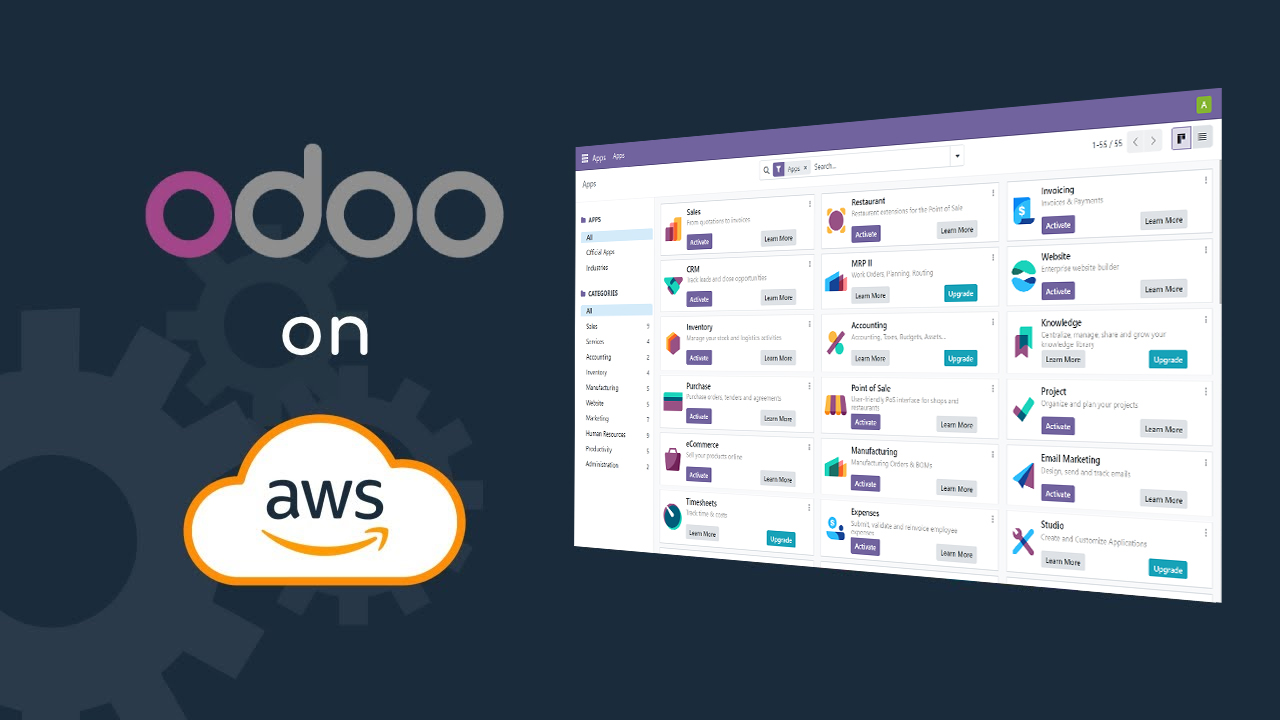
Step 9: Install the Module
Go to the Odoo Apps interface, locate your custom module, and install it. Once installed, you can start using and testing your custom module.
This is a basic guide, and depending on your requirements, you may need to delve deeper into Odoo development concepts such as actions, menus, and workflows. Refer to the official Odoo documentation for more in-depth information: Odoo Documentation.