
In this article, we’ll see a step-by-step guide to properly migrate your Webmail accounts from one server to another.
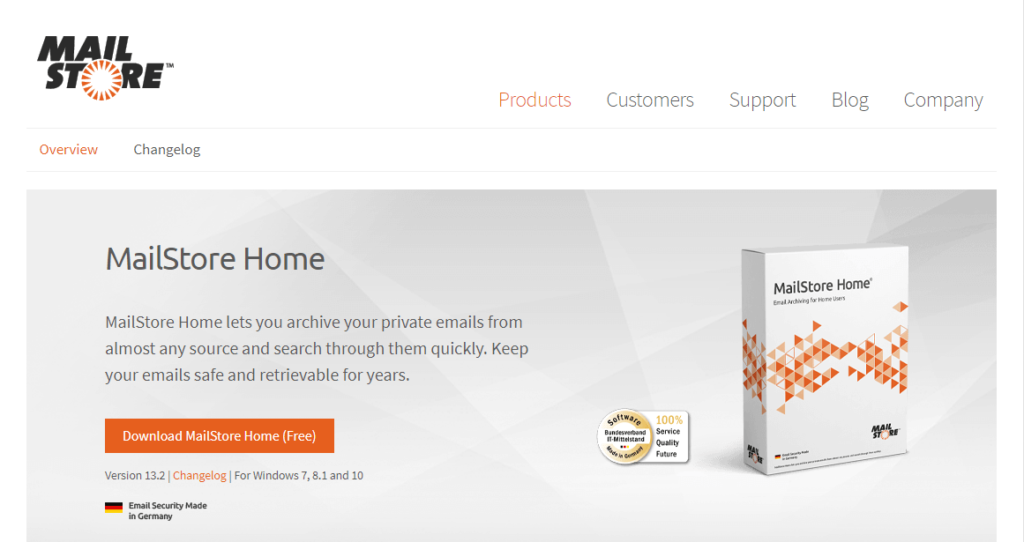
Go to the MailStore website and download the mailstore Home Application.
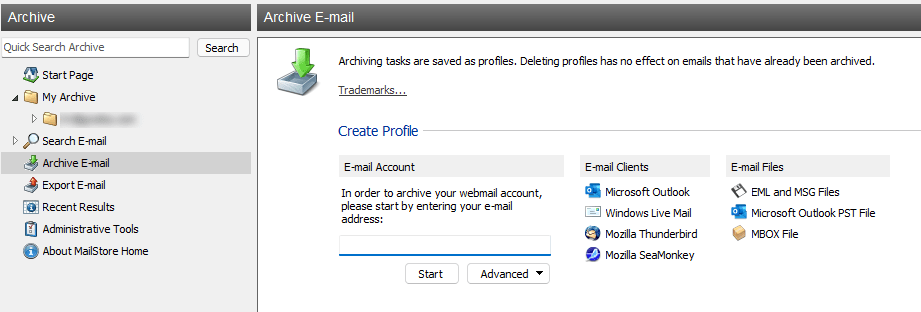
After Downloading, run the application & enter the email address you want to backup.
Then it will ask you for mail account credentials. Enter the correct details like mail host & password etc.
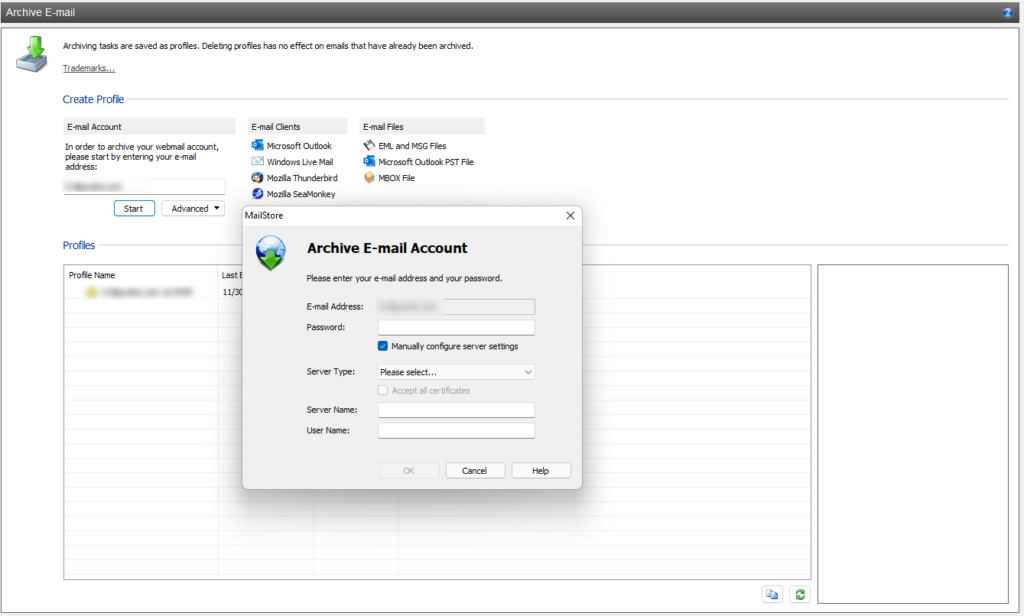
After connecting to your mail server, it will create a profile and display a popup as shown below

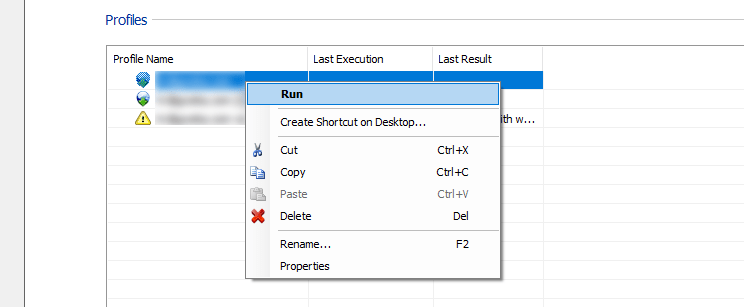
Not right click on the profile & run the process to archive your mails
Once backup finishes, its folder will be visible in the Left Navigation menu
Phase 2 – Export the Webmail data to New Destination
After you’ve backed up your old webmail data, you need to create the same email account on the new server by updating the DNS records.
Let the Magic Happen – DNS Propagation
Now leave it for a while till the DNS migration takes place, it can take up to 24 Hrs.
Once you’ve set up the mail account on the new destination, Now we’re ready to publish our data to New Webmail account.
Follow the steps below to export webmail to the new server.
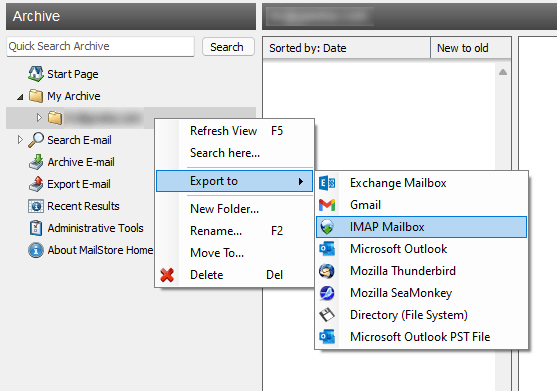
Connect to New Webmail – Right-click on the folder you want to export to the new location and select Export to -> IMAP Mailbox
Now Enter the Credentials for your New Destination
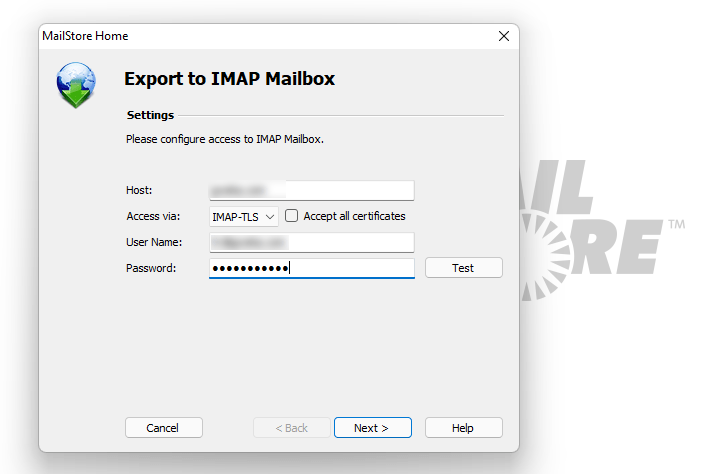
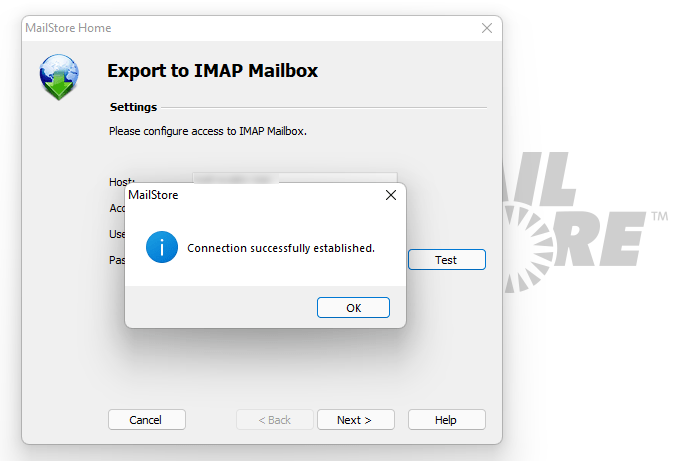
After this, run a quick test by clicking the test button.
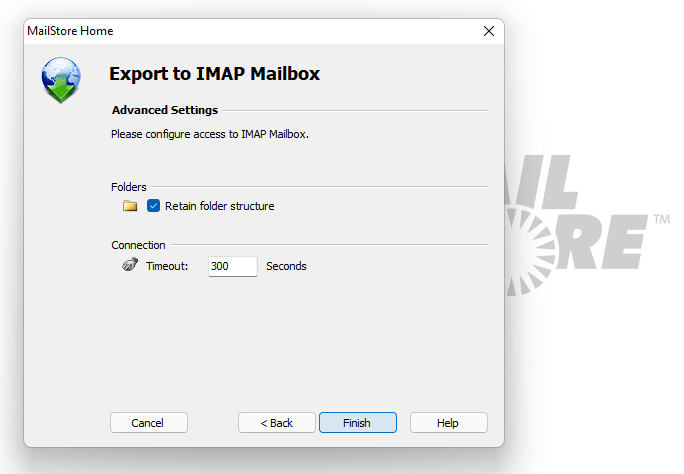
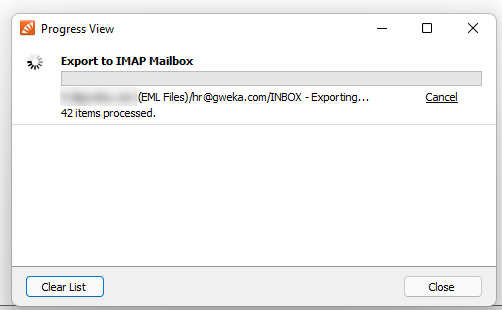
The export process will start now and you can see the progress as shown below
After successful migration, you still won’t be able to access your exported data in webmail.
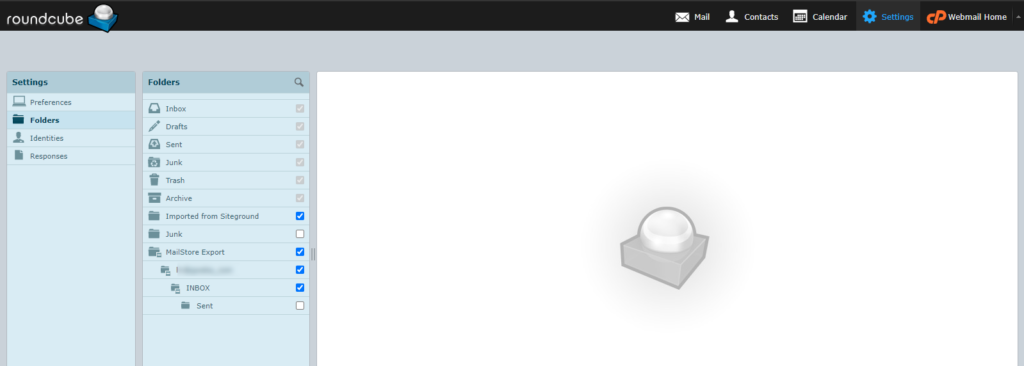
To view that click on the Settings link and open folder settings.
There you can see your imported folder, you just need to check that folder and it will be visible in your inbox.
Useful Links –
Download Mailstore Application


